Wednesday, April 17, 2024
Thursday, March 7, 2024
Railroad Photography Scene - Adding some height
As we look at the scene, the water will be ground zero. The back edge will be raised up. A piece of the gatorfoam is a scale 3/4" thick (remember the model is 1/4" to the 1"), so I glued two together to raise the "land" up to 1 1/2" above the water level. I want this on a gentle curve, a cosmetic curve if you will. From the viewer's standpoint it is a convex curve (the center of the curve is closest to the viewer). After I cut this I'm starting to think that maybe it should be a concave curve ( the center of the curve is furthest away from the viewer).
Elevating the buildings above the harbor does makes for a nice looking scene and I think the concave curve would probably show off rolling stock and locomotives better. I'm really debating the car float and float apron at this point though. It seems to get bigger every time I look at it. I think I will drop the tug concept, even using the smallest tug I think it would make the scene to crowded. Things to dwell on.
 |
| The first "land" layer being glued down. |
 |
| And here we go with the second layer. |
 |
| The land is in place and stands at 1 1/2" above the water. That would be about 10 in scale which feels about right. |
 |
| Just lining up the buildings, no particular rhyme or reason at this point. This is a convex view at this point so your view would be from the outside of the cosmetic curve. The curve is not readily apparent which is fine, its supposed to be subtle. Note how much space the barge, including the apron, takes up within the length of the scene. |
 |
| An aerial view. The car float and the apron could be swapped side to side. There is quite a bit of water space available. the curve is a bit more obvious from this viewpoint as well. |
Wednesday, March 6, 2024

Tuesday, March 5, 2024
Railroad Photography Scene - First changes
Another one of those "Aha" moments. I cut out some outlines on graph paper to get an idea of how things might fit and discovered two important points. First, don't pick a scale that is to hard to work with, 3/16ths to the inch is definitely hard to work with. Second, those car floats are big!

Quick change of plans changing the scale to something easier to work with. A 1/4 to the inch is not that much bigger and definitely easier to transfer measurements with. At this point I'm still determined to include the car float and the bridge float. They are just going to need to slide as far to the left side as I can get them. Its either that or stretch out to 4' and that's starting to get more ambitious than I had originally planned for. If I move them further to the right I'm going to run out of space for any kind of foreground building. I may end up widening the whole thing to 20 inches. I checked that and I can squeeze it into the intended space if I re-arrange my space.
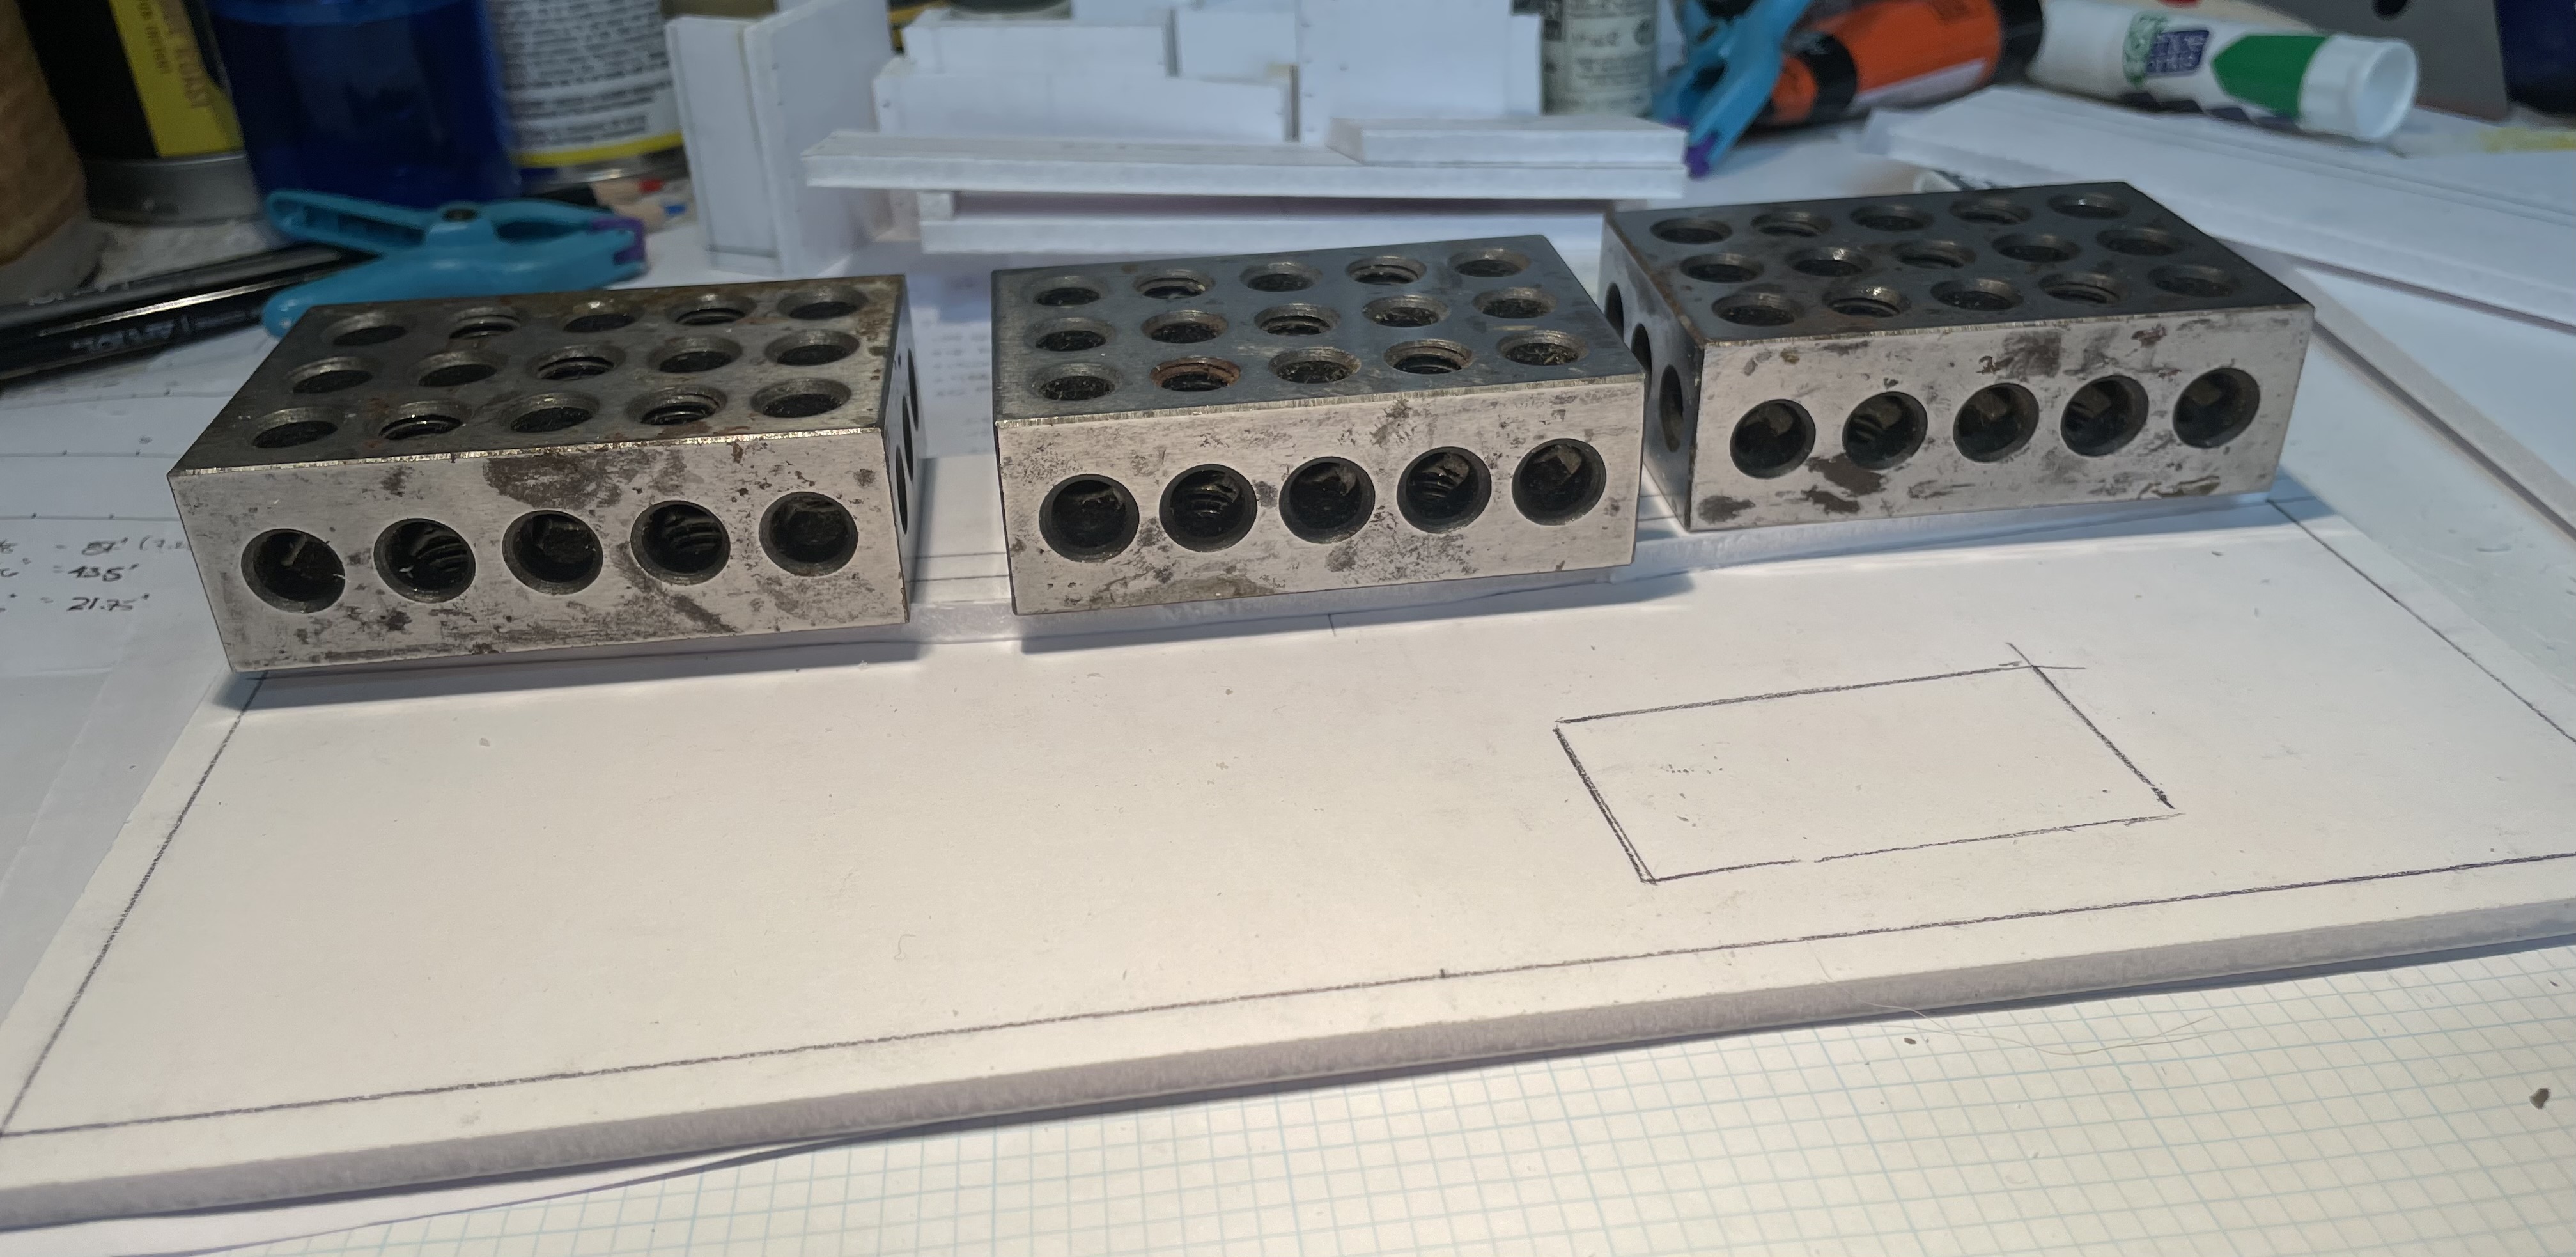
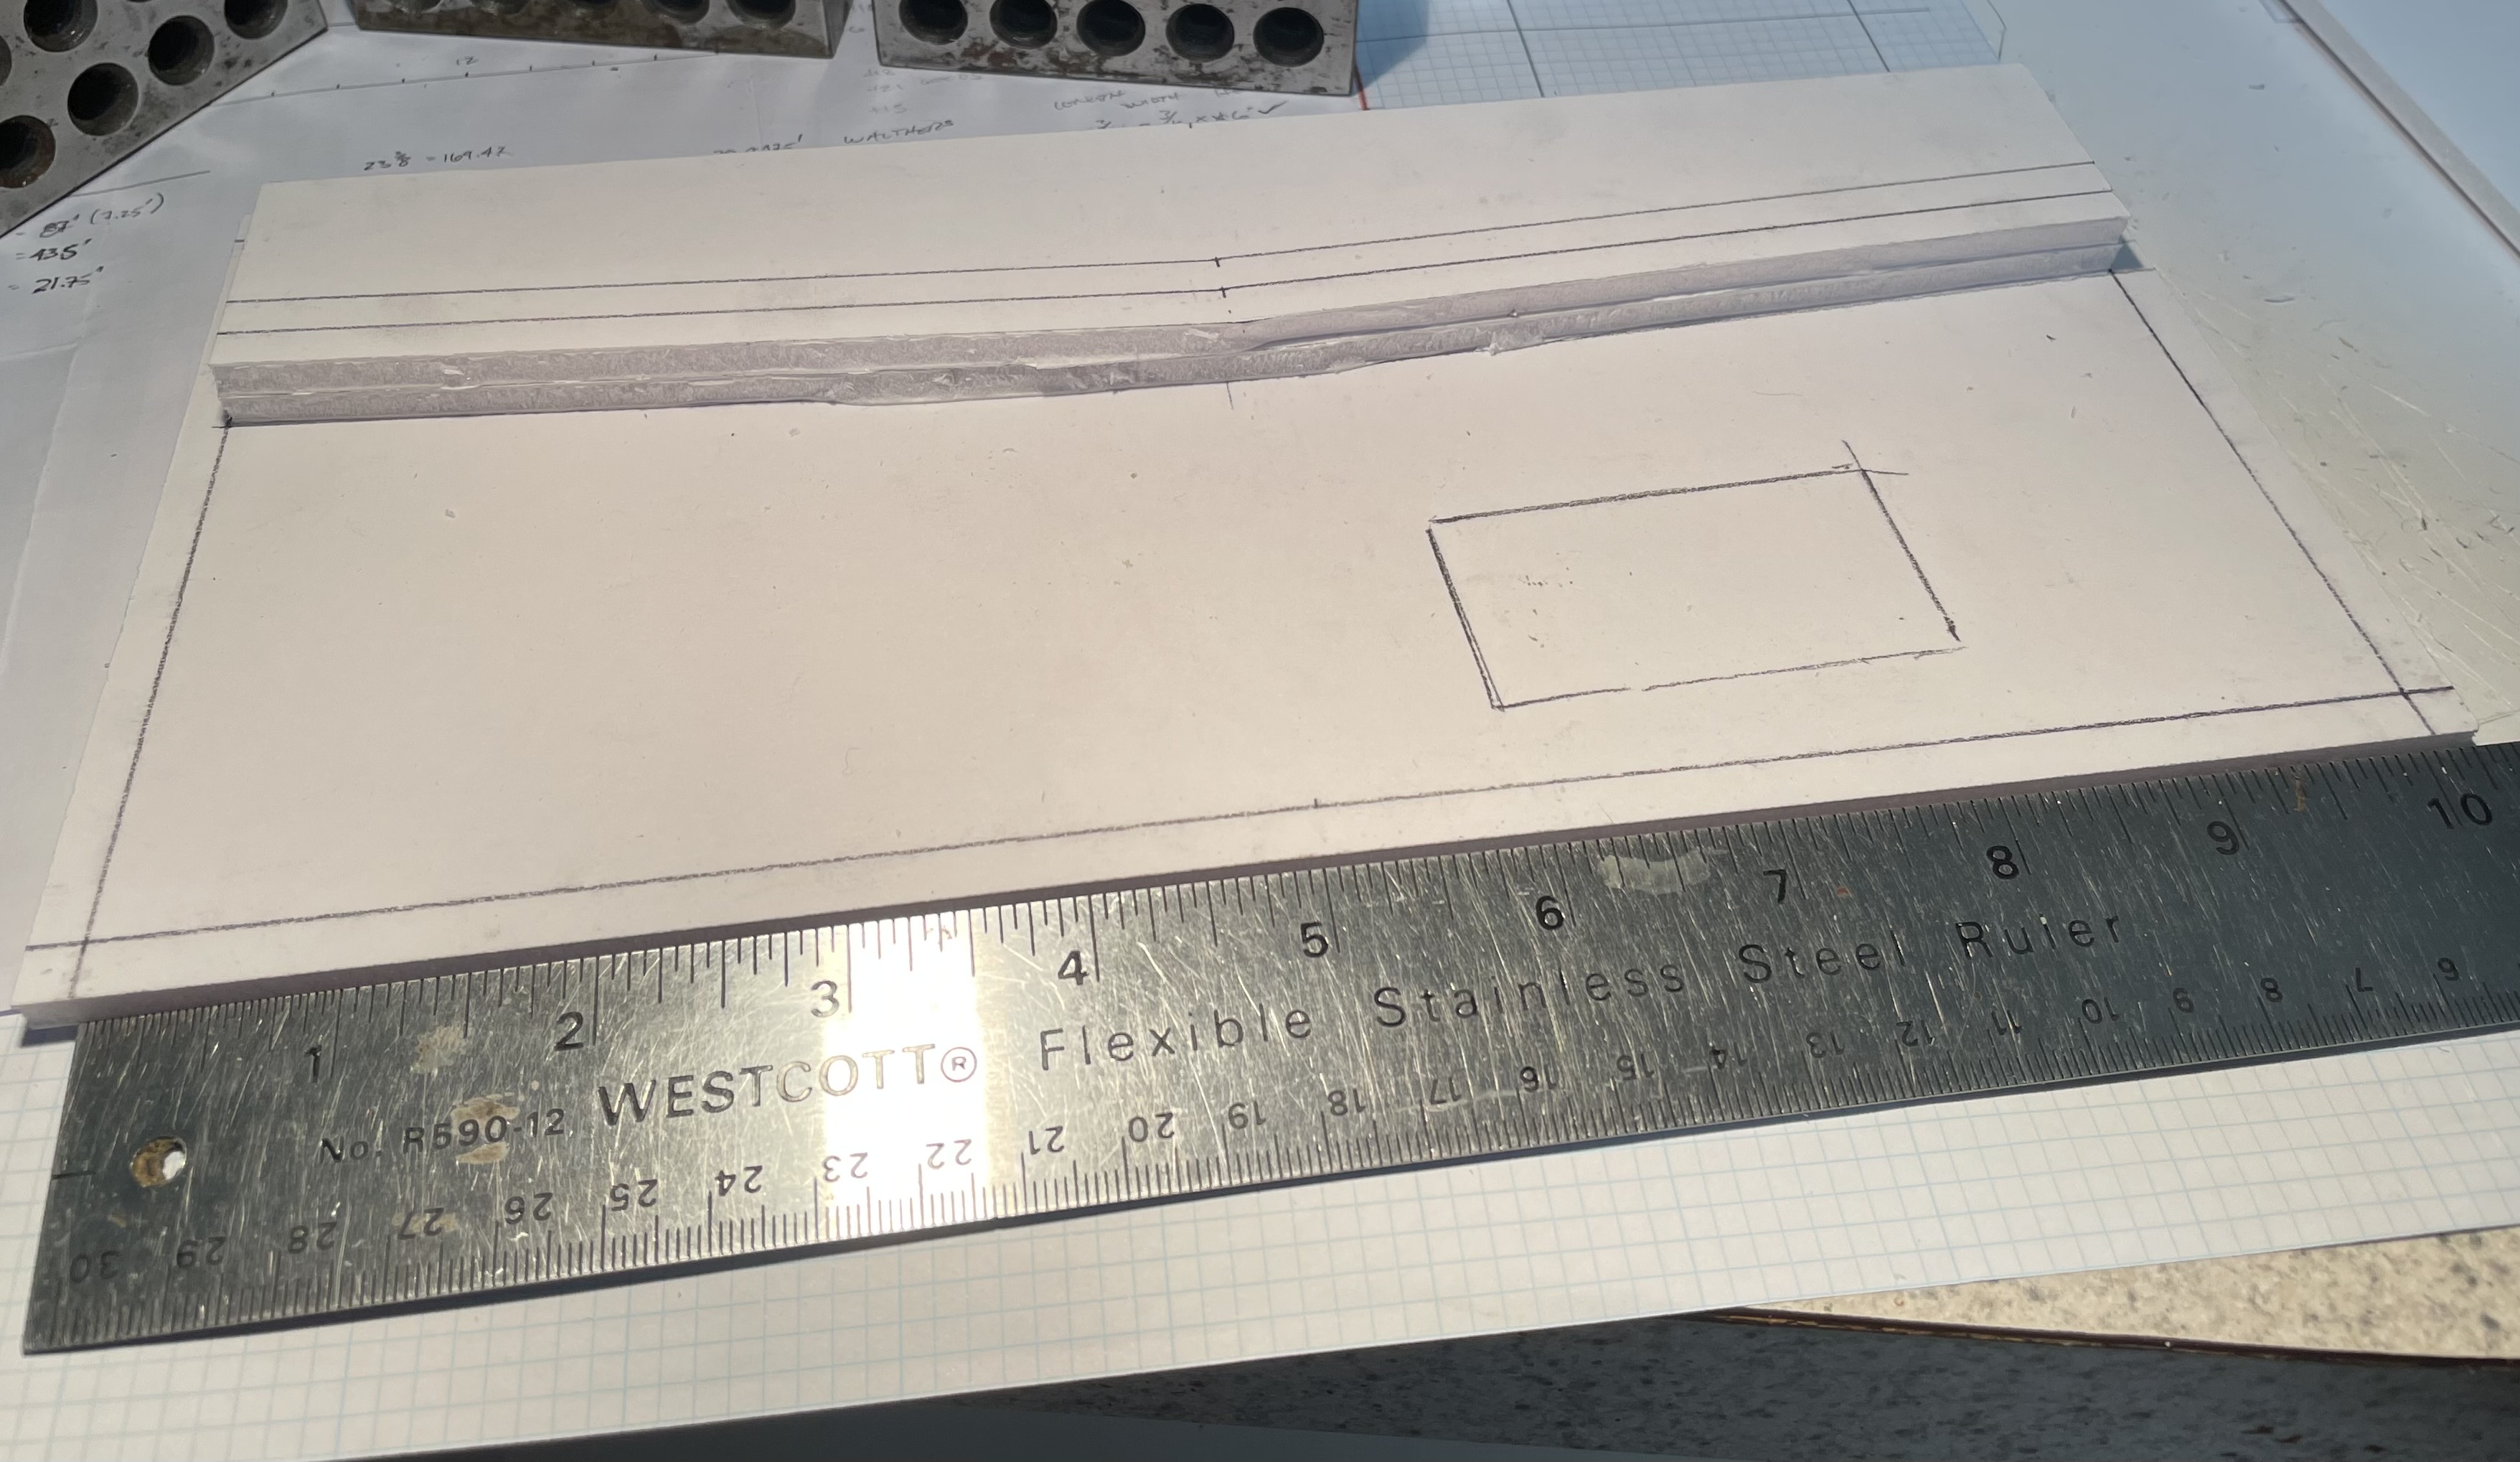
At this point I like working with the gatorfoam, Its pretty easy to cut with the x-acto knife with the added benefit of being able to snap it like styrene once you have cut down through the inner foam and scored that back edge once or twice. I'm making up a number of buildings based on measurements from the various manufactures. The bunch I have "finished" are background buildings from Walther's Cornerstone series.
Moving forward!
 |
| The new foundation |
 |
| Throwing together the first building |
 |
| Mmm, the car float and the float bridge in place on the far right. |
 |
| Now trying it to the far left |
 |
| Enough buildings to fill the back. Note that these will be raised up at least 1" maybe 2" |
 |
| Important information on the back. These are all Cornerstone buildings at this point but I have scoped out some others from N Scale Architect, Monster Modelworks and Itla. I'll be building a few mock ups of those as well. |
Monday, March 4, 2024
Railroad Photography Scene - Getting started
After cutting out that initial piece of Gatorboard I kind of sat there and when huh. I was thinking I could just dive in and started terraforming this little piece and realized that I really couldn't do that. I needed some basic dimensions of key elements before I could start the terraforming (gatorforming?).
Looking back at the G&D I think the hardest element to find a place for is the car float and the float bridge/apron. An added element that needs to go with this is a tug boat. The car floats are unpowered so a tug is required to get it from point A to point B. Finding info on actual sizes of barges proved to be more difficult than I thought it should. In the end I found the appropriate information on the Frenchman River Model Works site. They had exactly what I was looking for; a two track barge with a platform running down the center. Its a bit pricey so I'm not sure this one will end up on the photo module. The barge is basically 2' long and about 5 1/2" wide. Frenchman River also makes a 169' 3 track float which is a tad cheaper and basically the same dimensions. I found a small tug that only measures about 6" x 2" apparently designed by the Army and was used in crowded harbors. This tug might be to small, I may lean to working with the dimensions for a larger tug just to be sure. A 92' tug measures about 12.75" x 3.675". Oh and then there is the size of the float apron itself 9" long and 4.75" wide, that's going to hit up a chunk of ground. Frenchman River Model Works may be getting a chunk of money from me for this project. These kits are enticing because they come with the rail and attached with the correct rail fasteners used on these floats.
That covers most of the front of the photo module and probably the loss of the pier (which was optional anyway). At this point I figured I better take a look at the back edge. I'm a big fan of the scenery zone concept as espoused by Lance Mindheim. That would reserve at least a 3-4" zone between the back of the module and the track. This could go out as much as 6" which would be my preference. I don't have that much room in this case, 6" will take up 1/3 of the total space available. I have been flipping through the Walther's online catalog and most of their shallow background buildings run from 1 3/8" to 3 1/4" at least for the five that I'm considering. Another option for background buildings would be kits from Itla Scale Models. While they are also a bit on the pricey side I think I could at least make the shallow depth consistent between each building using their line of kits. It would range from 1.5" to 3". I'm sure I can find some other options as well. I'm focusing on brick buildings since the buildings on Warehouse Row are all brick. I have an old Monster Model Works background building that I might try slotting into this as well (Freight Warehouse and I think its about 2" deep including the dock).
| Walther's Cornerstone Series |
 |
| Walther's Cornerstone Series |
 |
| Walther's Cornerstone Series, I like this one quite a bit. |
 |
| Walther's cornerstone series |
 |
| 3 Track Car Float, Frenchman Model Works |
 |
| 2 Track Float, Frenchman Model Works |
 |
| Monster Modelworks REA, just as an example |
Subscribe to:
Posts (Atom)